
몇몇 분들이 Bitcoin 빌드시에 윈도우 상에서 qt 라이브러리도 포함해서 빌드시 에러에 대해서 문의 하신 분이 있어 제가 작업했던 부분을 공유 드리고자 합니다.
[작업내용]
Windows상의 Bitcoin 소스를 빌드하고자 할때, qt 라이브러리는 "static"이어야 합니다.
그래서, https://choiwonwoo.tistory.com/category/MINERVA/C_CPP에 나와 있는 방법으로 qt를 설치하여 사용하면 않됩니다. 그 이유는 "dynamic"이기 때문입니다.
[static qt library]
https://bitcoin.forum/t/building-bitcoin-core-with-visual-studio/39
Building Bitcoin Core with Visual Studio
Introduction Solution and project files to build the Bitcoin Core applications msbuild or Visual Studio can be found in the build_msvc directory. The build has been tested with Visual Studio 2019 (building with earlier versions of Visual Studio should not
bitcoin.forum
위의 페이지에서 QT에 관련된 부분은 아래와 같습니다.
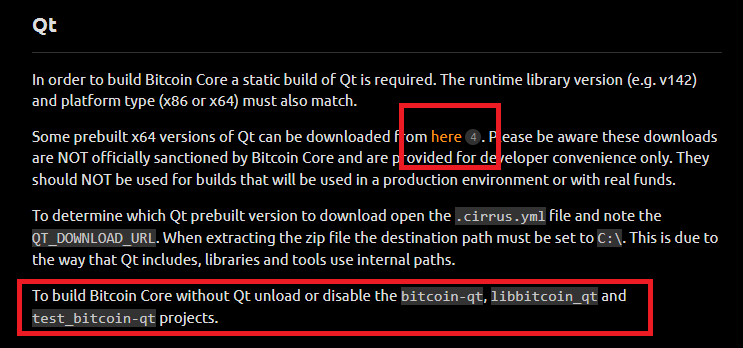
'here'로 된 부분을 선택하면,
아래와 같이 직접 qt 라이브러리를 직접 build하여 static library를 얻는 방법에 대해서 설명하고 있습니다.
https://github.com/sipsorcery/qt_win_binary
GitHub - sipsorcery/qt_win_binary: This repository contains static builds of Qt for Windows that are compatible with Bitcoin Cor
This repository contains static builds of Qt for Windows that are compatible with Bitcoin Core. - GitHub - sipsorcery/qt_win_binary: This repository contains static builds of Qt for Windows that ar...
github.com
위 방법을 통해서 얻게된 static qt library를 bitcoin build시에 설정해서 하시면 됩니다.
감사합니다.
1. qt 설치
몇년전만 해도 qt 라이브러리는 용량도 어마어마하게 크고, 소스를 통해서 빌드할때 많은 시간을 들여야 했습니다.
하지만 이제는 라이브러리를 개발하면서, 배포부분도 많은 배려를 해주고 있어 쉽게 됩니다.
(* 하지만 여전히 소스 빌드를 필요로 하는 부분도 있습니다.)
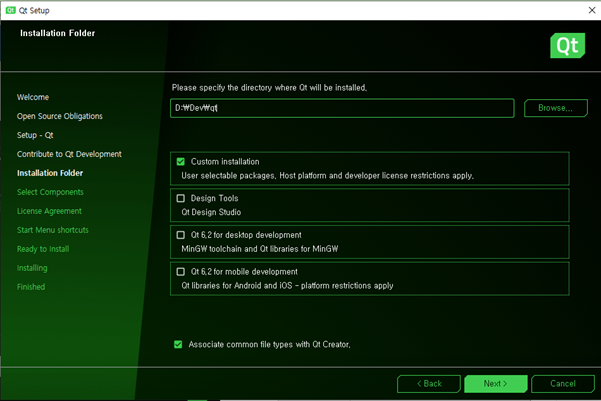
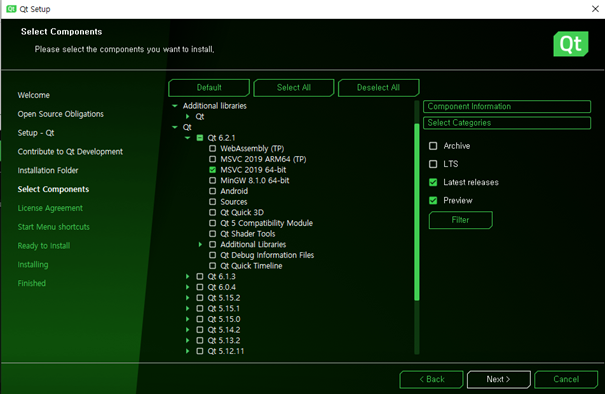
1) 적절한 설치 파일 선택
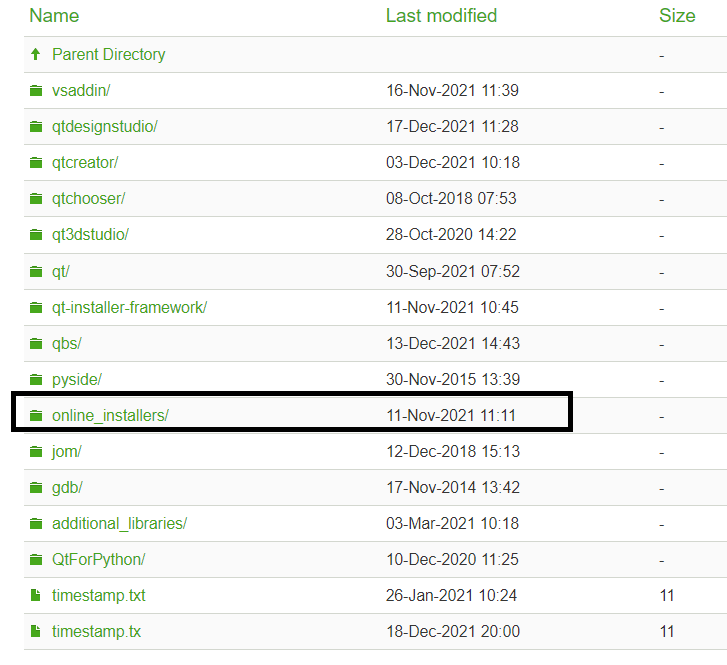
1) https://download.qt.io/official_releases/
Index of /official_releases
download.qt.io
위 디렉토리에서 online_installers를 선택후, 윈도우 설치 파일을 다운로드

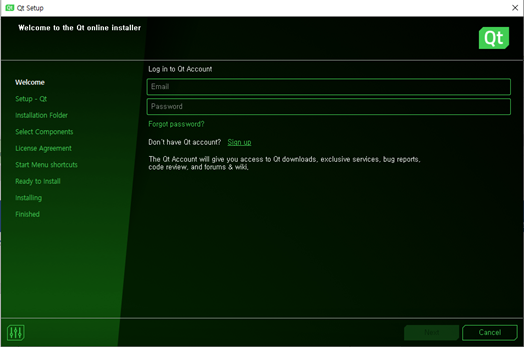
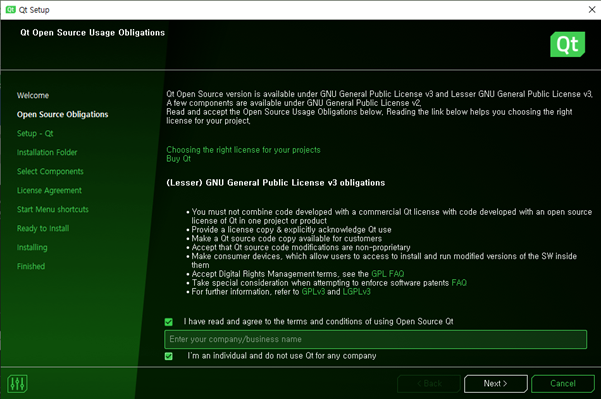
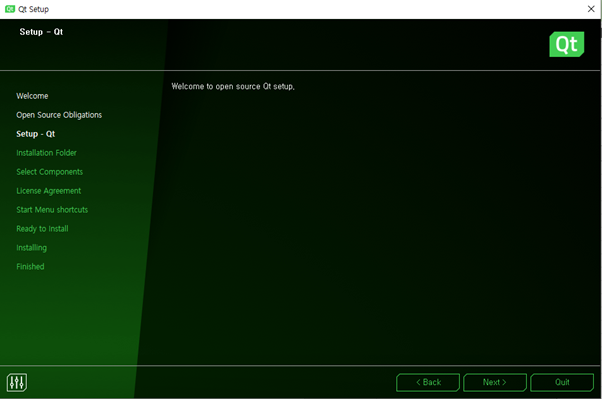
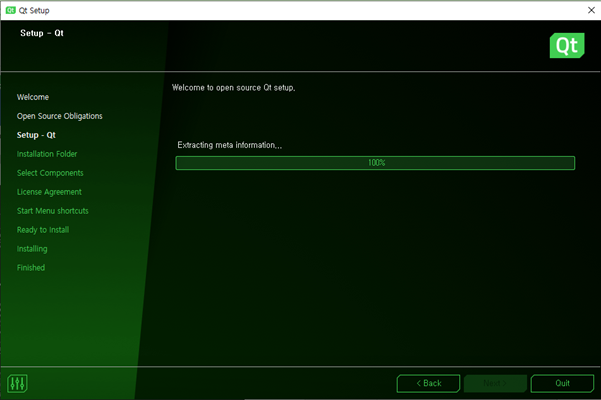
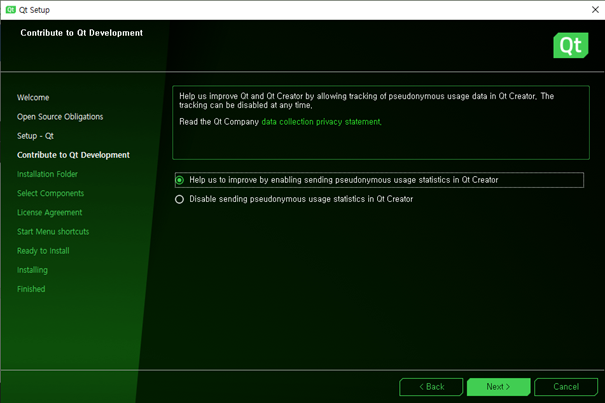
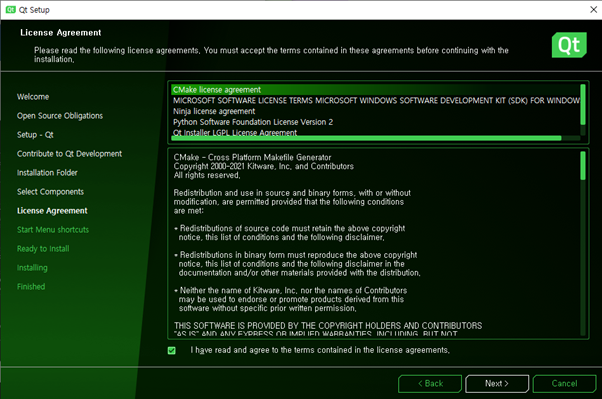
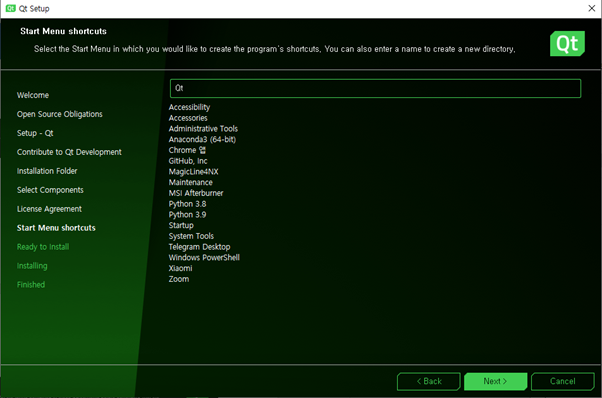
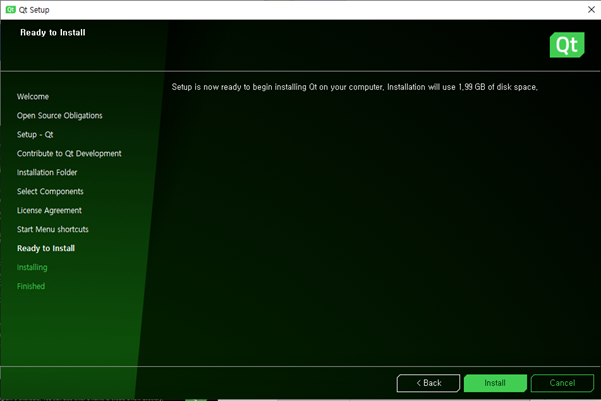
2) 설치 시작

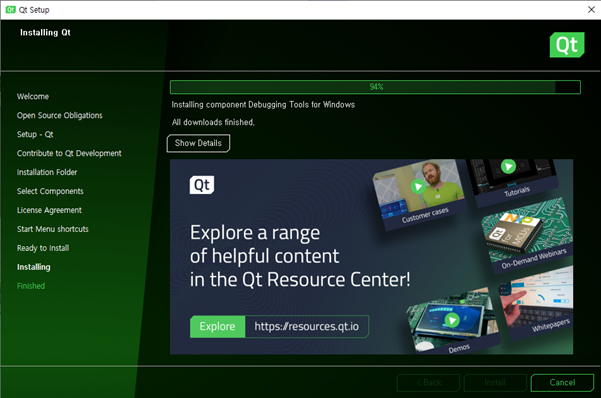
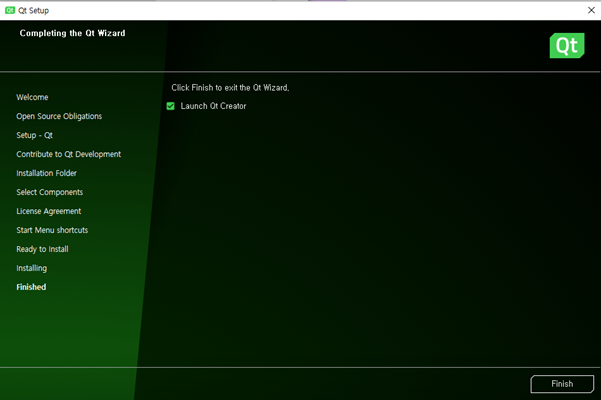
참고:
vcpkg에 대한 사용 예제를 메시지로 부탁하신 분이 있어서 정리를 하여 보았습니다
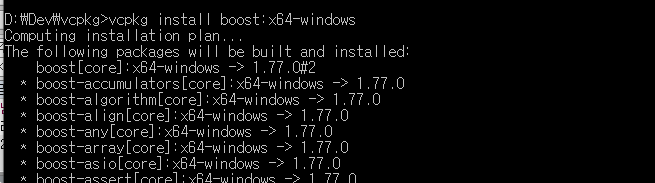
1) boost 다운로드
- 64 bit dynamic: vcpkg install boost:x64-windows
- 64 bit static: vcpkg install boost:x64-windows-static
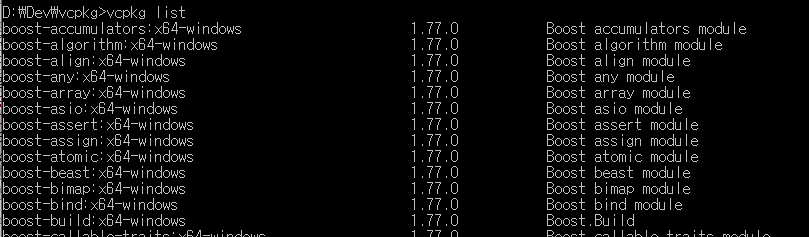
2) boost 확인
- vcpkg list
3) boost를 visual studio에 연결(?)

위에 설명이 된대로, boost라이브러리를 사용시, 별도의 include와 libraray path설정없이 이제 바로 사용가능함
4) boost를 활용한 예제
| - 쓰레드를 생성하는 예제 #include <iostream> #include <typeinfo> #include <thread> #include <boost/thread.hpp> using namespace std; void myTest() { thread::id t_id = this_thread::get_id(); cout << "thread called: " << typeid(t_id).name() <<' '<< sizeof(t_id) << 'T:' << t_id << endl; } int main() { //-- cout << "thread calling" << endl; //-- 쓰레드 생성: 4개 T1~T4 boost::thread workerThread1(myTest); boost::thread workerThread2(myTest); boost::thread workerThread3(myTest); boost::thread workerThread4(myTest); //-- 각 쓰레드 작업 완료 대기 workerThread1.join(); workerThread2.join(); workerThread3.join(); workerThread4.join(); cout << "thread done" << endl; } |
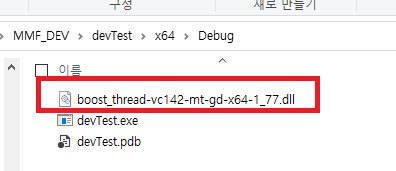
- 개발 작업을 할때, 별도의 라이브러리와 관련된 작업을 할필요가 없다.(include, library path...)
그리고, 제일 좋은 점은 개발에 사용된 라이브리를 자동으로 실행파일 위치에 복사여준다는 부분이 최고로 편함.
(이제는, XCOPY ...어쩌구 하는 작업을 하지 않아도 된다. 만세!!!)
감사합니다.